
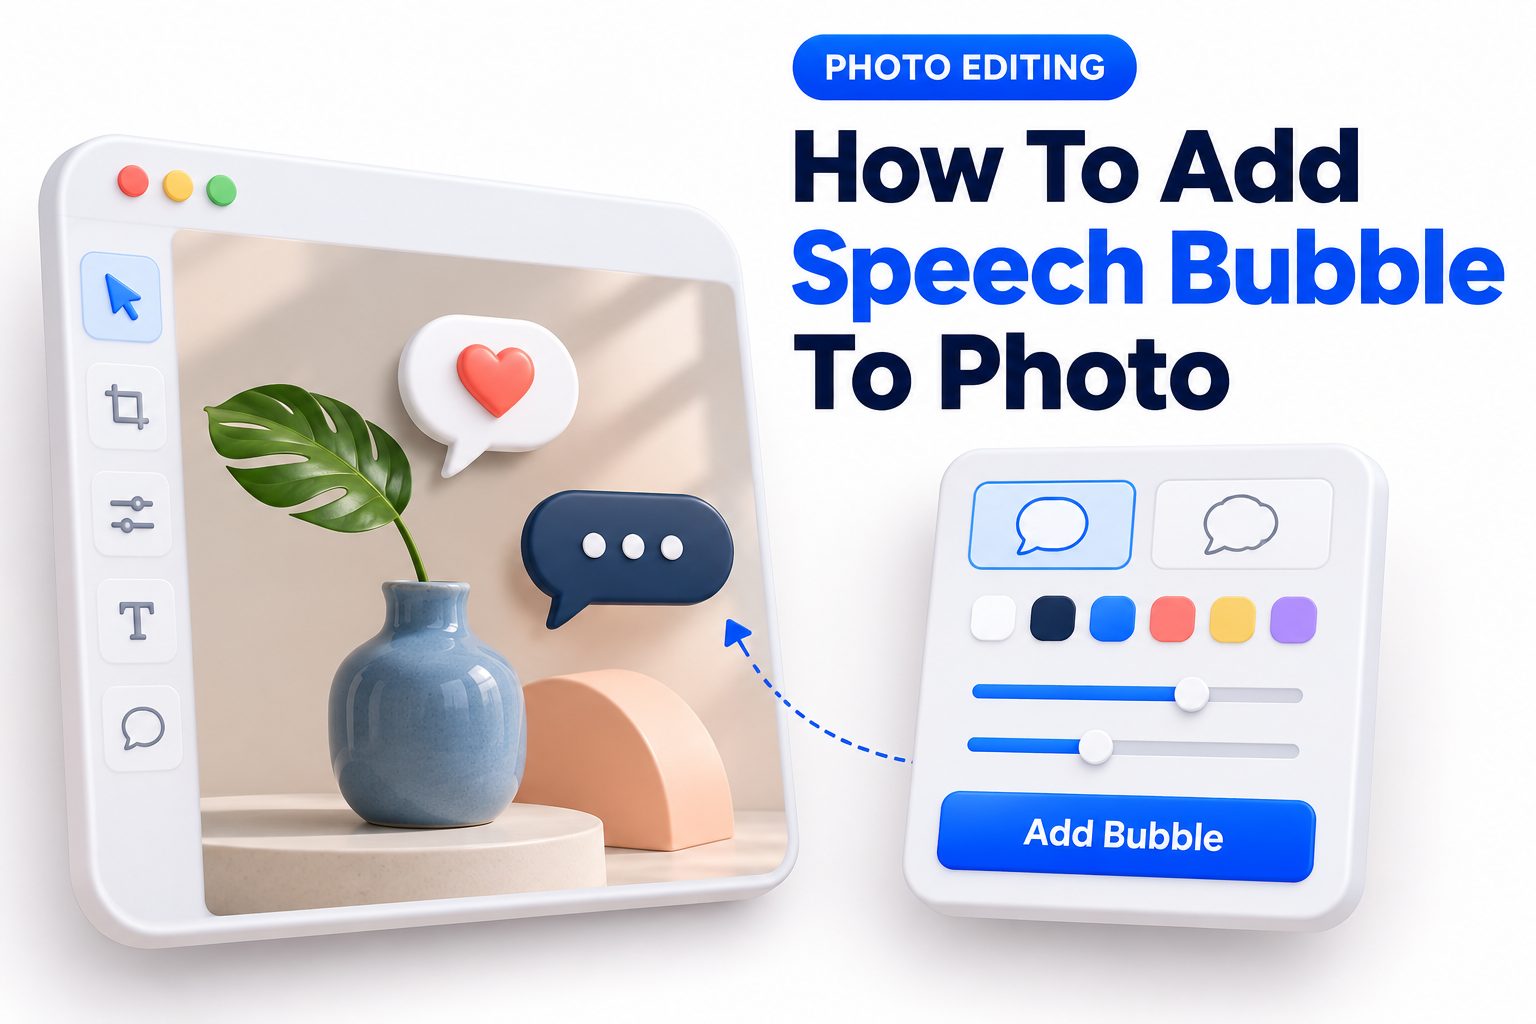
A speech bubble can turn an ordinary photo into a joke, a comic-style post, a product explainer, or a clear visual story. The basic process is simple: open your image in a photo editor or design app, add a speech bubble shape, type your text, and adjust the placement so it points to the right person or object. The difference between a quick edit and a polished result usually comes down to the details—choosing a readable font, positioning the tail correctly, and making sure the bubble does not hide an important part of the picture.
This article explains how to add speech bubble to photo projects on phones, computers, and browser-based design tools. You will learn the general method that works across most apps, how to choose the right bubble style, how to make text easy to read, and what to do when a speech bubble looks awkward or cluttered. You will also find practical examples for memes, social media graphics, classroom materials, and business visuals.
Choosing the Right Editing Tool
You do not need advanced design software to add a speech bubble. Most people can complete the job in a mobile photo editor, a browser-based design platform, a presentation app, or a social media design tool. The best choice depends on where you are creating the image and how much control you need.
For a fast social post, a phone app with stickers and text tools is usually enough. For a more refined design, use software that lets you resize the bubble, move its tail, layer objects, add outlines, and export a high-quality image. These controls matter when the image contains several people or needs to be printed.
Phone Apps for Quick Edits
Mobile editors are convenient because you can add a bubble directly after taking a picture. Look for options labeled Stickers, Elements, Shapes, Draw, or Text. Some apps include ready-made comic bubbles, while others require you to combine a rounded shape with a small triangle tail.
Phone editing works well for casual posts, stories, reaction images, and messages sent to friends. It can be less precise on a small screen, especially when you need to align several bubbles or use small text. Zooming in before placing the bubble helps avoid rushed-looking results.
Desktop and Browser-Based Editors
Desktop software and browser editors give you more room to work. They are especially useful for product images, blog graphics, lesson materials, comic panels, and social media templates that need consistent branding. You can often duplicate bubbles, use guides, and save a reusable layout.
A browser-based editor is a practical middle ground when you do not want to install software. Upload the photo, search the elements library for “speech bubble” or “comic bubble,” then drag your chosen style onto the canvas. Many platforms also make it easy to create versions sized for different networks.
Core Tools to Look For
Before choosing an editor, check that it includes the
- Editable speech bubble shapes or sticker elements
- Text controls for font, size, color, spacing, and alignment
- Layer controls to move a bubble in front of or behind other elements
- Crop and resize tools for social media dimensions
- PNG or JPG export options
- A high-resolution export setting for print or larger displays
Preparing the Photo Before Adding Text
A speech bubble works best when the image has enough clear space for it. Before adding anything, look at the photo as a layout rather than just a picture. Identify faces, hands, products, signs, and other details that should stay visible.
Cropping can create the space you need. For example, if a person appears on the left side of the photo, a slightly wider crop on the right may provide room for a bubble without covering their face. You can also use a subtle blurred or darkened area behind the bubble if the background is busy.
Finding a Natural Place for the Bubble
The bubble should feel connected to the speaker. Place it near the person’s head, but leave enough breathing room so it does not appear to sit on their hair or forehead. Aim the tail toward the speaker’s mouth, chin, or upper body rather than directly at an eye.
When there are multiple people in the image, establish an easy reading order. In English-language layouts, viewers usually read from left to right and top to bottom. Put the first speaker’s bubble higher or farther left, then position the reply accordingly.
Checking Image Quality First
Start with the clearest version of the photo available. Enlarging a small, compressed image can make the final text and edges look fuzzy. If the image comes from a screenshot or a messaging app, find the original photo when possible.
It also helps to correct brightness and contrast before adding the bubble. A photo that is too dark may make a black bubble outline disappear, while a very bright image can make pale text difficult to read. Make these adjustments first so the text treatment can match the finished image.
Adding a Speech Bubble Step by Step
The exact buttons vary from one app to another, but the workflow is nearly always the same. Once you have done it once, you can repeat the method in almost any editor.
1. Open the photo in your chosen editing app or design tool.
2. Create a new project at the size you need. Keep the original dimensions if you are only sharing the photo privately, or choose the correct dimensions for a post, story, printout, or presentation.
3. Find the shape, sticker, or elements menu. Search for “speech bubble,” “comic bubble,” “dialogue bubble,” or “callout.”
4. Add a bubble that matches the tone of the image. A rounded oval suits friendly dialogue, while a jagged burst suggests shouting or surprise.
5. Resize the bubble before adding text. Make it large enough to hold the words comfortably, with visible padding around all sides.
6. Move the bubble into open space and rotate it slightly only if that helps it fit the composition.
7. Add your text. Use short wording and enlarge the font until it can be read quickly at the size people will actually see.
8. Position the tail so it clearly identifies the speaker. If the app does not let you move the tail, choose a different bubble or add a small triangle shape separately.
9. Review the image at full size and at a smaller preview size. Make sure the text, tail, and key parts of the photo remain clear.
10. Export a copy rather than replacing your original image. JPG is suitable for most sharing, while PNG can preserve sharper text and transparent backgrounds when supported.
Selecting a Bubble Style That Fits the Image
Speech bubbles have visual meaning. A plain rounded bubble feels conversational, while a cloud-like shape can suggest a thought. A jagged starburst signals shouting, shock, urgency, or excitement. Using the wrong style can make an otherwise good image feel confusing.
Keep the visual language consistent when using multiple bubbles. If one person has a clean white oval with a black outline, use the same general style for the rest of the conversation. Changes in bubble style should be deliberate, such as using a thought cloud for an internal reaction.
Common Bubble Styles and Their Best Uses
| Bubble style | Best use | Design note |
|—|—|—|
| Rounded speech bubble | Everyday dialogue, captions, friendly posts | Easy to read and suitable for most photos |
| Thought cloud | Inner thoughts, imagined dialogue, reactions | Use small trailing circles instead of a pointed tail |
| Jagged burst | Shouting, surprise, warnings, excitement | Reserve for short, high-impact text |
| Rectangular callout | Instructions, product labels, educational visuals | Works well when no person is speaking |
| Whisper bubble | Quiet comments, secrets, subtle humor | Use a smaller font and understated outline |
Writing Text That Works Inside a Speech Bubble
The strongest speech bubbles say less, not more. A viewer should understand the message in one glance, especially on a phone screen. Long sentences create tiny text, crowded bubbles, and a design that people skip instead of reading.
Try to write in a natural voice that matches the image. A candid pet photo may need a playful line, while a customer testimonial graphic needs a believable, concise quote. Read the text aloud before finalizing it. If it sounds stiff or overly explanatory, shorten it.
Keeping Copy Short and Scannable
A useful guideline is one short sentence per bubble. For a comic-style image, five to twelve words is often enough. You can use two bubbles when a conversation needs a setup and response, but avoid turning a single photo into a paragraph.
Break lines where the reader would naturally pause. Do not leave one short word isolated on the last line unless it is intentional for comedic timing. Centered text often works in rounded bubbles, while left-aligned text can be easier to scan in rectangular callouts.
Choosing Fonts and Colors
Use a simple, bold font for most speech bubbles. Clean sans-serif fonts and comic-style fonts are both effective if they remain legible at small sizes. Decorative scripts may look attractive in a design panel but become hard to read on a mobile feed.
White bubbles with dark text are reliable because they create strong contrast on most photos. If you use a colored bubble, check contrast carefully. Dark text on a pale color or light text on a dark color is generally safer than similar shades with weak contrast.
Quick Readability Checklist
- Can the text be read without zooming in?
- Does the bubble have enough empty space around the words?
- Does the font fit the mood without being distracting?
- Is the text color clearly different from the bubble color?
- Does the tail point toward the correct speaker?
- Is the bubble avoiding faces, products, and important background details?
- Can someone understand the image in a few seconds?
Positioning the Bubble and Tail Correctly
Placement is what makes a speech bubble feel intentional. A bubble that floats far from the subject or points in the wrong direction can make viewers pause for the wrong reason. The tail is not decorative; it is a visual label that tells people who is speaking.
Place the bubble close enough to its speaker to establish the connection, but not so close that it crowds the face. In most portraits, the upper-left or upper-right area near the subject works well. Let the photo’s empty space guide your placement.
Working With Multiple Speakers
For two people, separate the bubbles clearly. Keep each tail distinct and avoid crossing tails over faces or bodies. Place one bubble slightly higher than the other to maintain an obvious reading sequence.
With three or more speakers, simplify the dialogue. Multiple bubbles can make a single image difficult to follow, particularly on a phone. Consider creating a carousel, a multi-panel comic, or separate images if each person needs a longer message.
Avoiding Awkward Tail Placement
A tail should generally point toward the lower edge of the bubble and travel toward the speaker. A tail that points sideways across the photo can look like an arrow or block another important visual element. Move the bubble before stretching the tail too far.
If the subject is near the edge of the photo, use a bubble placed in the open center area and angle the tail carefully. When there is no clean path, a caption box may be more readable than forcing a speech bubble into a tight composition.
Examples for Popular Uses
A speech bubble can do more than imitate a comic. It can clarify a message, create a joke, highlight a feature, or give a static image a conversational feel. The best wording depends on what the image needs the viewer to notice first.
For social content, the bubble is often the hook. For educational or business content, it can direct attention to a key detail. In both cases, keep the photo and message working together instead of making the text do all the work.
Social Media and Meme Captions
A candid photo of a dog looking toward an empty food bowl could use a bubble saying, “I was promised snacks.” The humor comes from the expression, while the short text confirms the joke. There is no need to explain why the dog is disappointed.
For a behind-the-scenes business post, a team member could have a bubble that says, “One more revision.” It adds personality without making the brand post look overly casual. Pair this kind of image with a fuller caption below the post rather than placing every detail in the graphic.
Product Photos and Educational Images
A product image can use rectangular callouts to point out features such as “Rechargeable battery,” “Water-resistant shell,” or “Fits in a carry-on.” These are technically callouts rather than spoken dialogue, but the same placement and readability rules apply.
Teachers and trainers can use speech bubbles to create visual prompts. A historical figure’s portrait might include a short quote prompt, while a science diagram could feature a character saying, “Heat makes the particles move faster.” For related visual layout ideas, see [Internal Link: create engaging educational graphics].
Common Mistakes to Avoid
- Writing too much text inside one bubble
- Covering a face, logo, or product feature
- Using a bubble tail that points to the wrong person
- Choosing a low-contrast font and bubble combination
- Using several different font styles in one image
- Stretching a bubble so much that its outline looks distorted
- Exporting a low-resolution screenshot instead of the edited original
- Adding dialogue that does not match the image’s tone
Using Speech Bubbles on Different Platforms
Most platforms accept standard image files, but each platform displays them differently. A bubble that looks perfect in a large desktop preview may become unreadable once reduced in a feed. Test your image at the smallest likely viewing size before posting.
Square and vertical images often provide more usable space for bubbles than wide horizontal images. A vertical post can place the person in the lower half and the dialogue in open space above. A wide image may need a simpler, shorter line to avoid crowding.
Instagram, TikTok, and Short-Form Posts
For Instagram feed posts and many short-form visual posts, keep the text large and centered within the safe visible area. Avoid placing key words too close to the outer edges, where platform interface elements or cropping may interfere.
Stories and vertical formats have extra space, but they also have interface overlays near the top and bottom. Keep bubbles away from account names, captions, reply fields, and action buttons. Preview the image in the platform before publishing when possible.
Blogs, Presentations, and Print Materials
For blog images, speech bubbles should support the article rather than repeat its entire point. Use them to add a voice, emphasize a key takeaway, or make an instructional image friendlier. A larger image file preserves text quality when readers open it on wider screens.
Print requires more care because poor contrast is more noticeable on paper. Use high-resolution exports and test print a sample if the image will be distributed professionally. Thin outlines and pale text can disappear on lower-quality printers, so choose stronger colors and slightly thicker borders.
Troubleshooting a Bubble That Does Not Look Right
When a speech bubble looks wrong, the issue is usually scale, contrast, placement, or too much text. Instead of trying to fix every detail at once, identify the main problem. A simple adjustment often improves the entire image.
Step back from the design and view it as a new reader would. Can you tell who is speaking immediately? Can you read the text in one glance? Does the bubble feel like part of the photo rather than an object pasted on top? Those answers reveal what to change.
When the Text Feels Crowded
Reduce the copy first. Removing a few words is better than shrinking the font until it is difficult to read. You can also divide a long line into two bubbles, but only when it creates a natural dialogue rhythm.
If the wording cannot be shortened, use a caption box below the photo instead. Speech bubbles are best for quick, conversational statements. Longer explanations belong in the accompanying post copy, a carousel slide, or a separate design panel.
When the Bubble Blends Into the Background
Add a contrasting outline, shadow, or semi-opaque fill behind the text. A white bubble with a dark outline is the safest option over a complex photo. Avoid relying on a transparent bubble over patterned clothing, foliage, or bright signage.
You can also reposition the bubble into a calmer area of the photo. This usually looks better than adding excessive effects. For more ways to improve visual clarity, consider [Internal Link: photo text overlay design tips].
Best Practices for Polished Results
The most effective speech-bubble edits are clear before they are clever. The viewer should recognize the speaker, read the message, and understand the tone almost instantly. Strong contrast, concise copy, and intentional placement accomplish more than elaborate effects.
Save an editable version of the project if you may need revisions later. This is particularly useful for branded templates, classroom materials, or recurring social posts. You can replace the photo and text while retaining your preferred bubble style, font, outline, and safe spacing.
A Practical Final Review
Before sharing your image, run through this short sequence:
1. Check the original photo for sharpness and proper cropping.
2. Confirm the bubble does not cover the main subject.
3. Verify that the tail identifies the correct speaker.
4. Read the text at normal phone-screen size.
5. Remove any words that do not add to the message.
6. Check spelling, punctuation, and line breaks.
7. Export at a quality suitable for the destination platform.
8. Keep the original photo and editable design file as backups.
Conclusion
A well-placed speech bubble gives a photo context in seconds. Start with a clear image and leave enough negative space for the bubble. Choose a shape that matches the intended tone, keep the message brief, and use high-contrast text that remains readable on a small screen. The tail should always make the speaker obvious, while the bubble itself should avoid covering important details.
Once you know how to add speech bubble to photo edits, the process becomes a flexible design skill rather than a one-off trick. You can use it for lighthearted memes, social posts, learning materials, product callouts, and visual storytelling. The most reliable approach is to make the bubble serve the picture: use fewer words, place it with purpose, preview it at the final size, and revise anything that makes the viewer work too hard to understand the message.
Frequently Asked Questions
Can I add a speech bubble on my phone?
Yes. Most mobile photo editors offer stickers, shapes, or text tools that can create a speech bubble. Add a ready-made sticker or combine a rounded shape with a small triangle, then type and position your message.
What app is best for speech bubbles?
The best app is one that lets you edit both the bubble and its text. Look for movable shapes, font controls, layers, and high-quality export options. Browser-based design tools are often easiest for more detailed layouts.
How do I make speech bubble text readable?
Use a large, simple font with strong contrast against the bubble. Keep the wording short, leave padding around the text, and preview the image at phone size. A dark font on a light bubble is usually reliable.
Can I use speech bubbles for product photos?
Yes. Speech bubbles and callouts can highlight features, benefits, or instructions on product photos. Keep claims brief and accurate, and avoid covering the product itself. Rectangular callouts often look more professional than comic-style bubbles.
Why does my speech bubble look misplaced?
It may be too far from the speaker, point in the wrong direction, or cover an important detail. Move it into open space near the subject and aim the tail toward the mouth or upper body for a clearer connection.